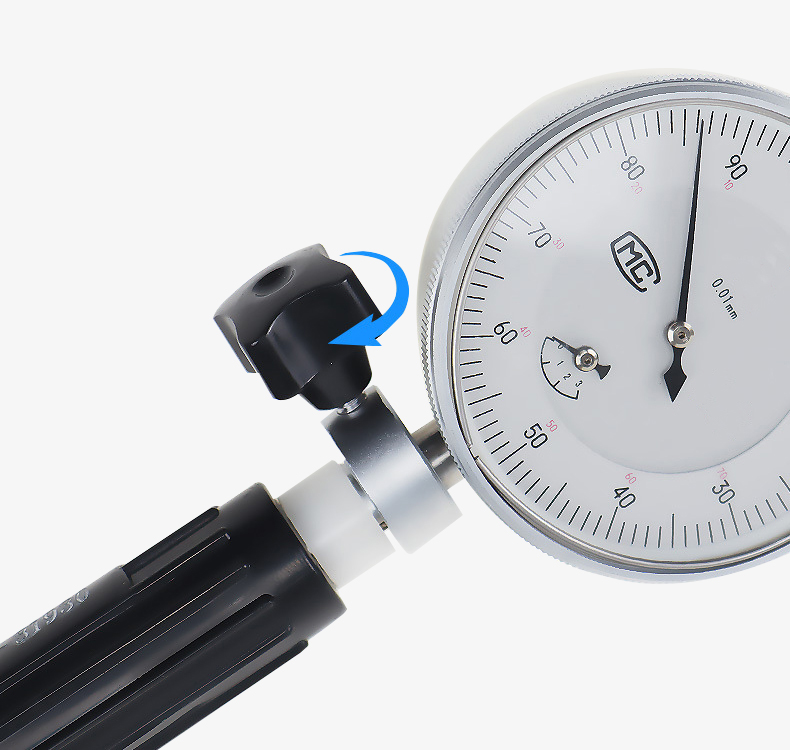
Reasonable price bore gauge with a measuring range of 160-250mm, precision ±0.01mm. Before measuring, be sure to adjust the pointer of the dial indicator to the “0” setting and select the measuring head of the appropriate size for measurement.

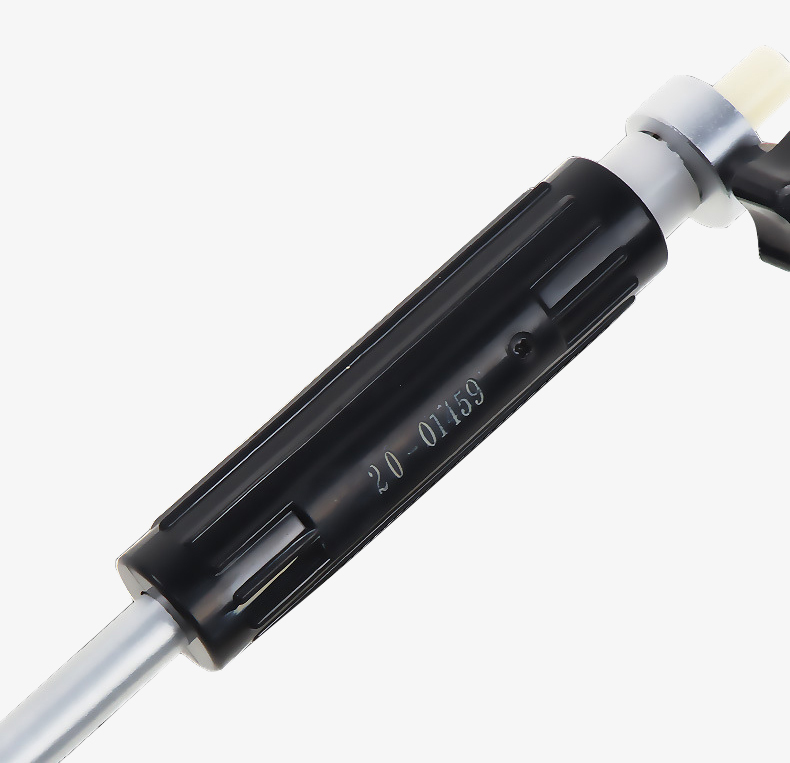
Insulated handle design
- Effectively insulate the heat and measure hot parts
- The product has an anti-counterfeiting code

Locking device design
- The measurement data is locked and the data is more accurate
- Dial clear scale, intuitive and convenient reading
Applications
SISCO dial bore gauges are used in applications where holes, cylinders, and pipes need the be measured, such as automotive, manufacturing, and inspection and calibration uses. Mechanics and machinists use bore gauges to measure wear in cylinder heads.

- Model: SISCO-DBG-108000
- Measuring Range: 160-250mm
- Precision: ±0.01mm
- Division value: 0.01mm
- Measuring Depth: 250mm
- Weight: 3kg
Q1: What is a dial bore gauge?
A1: A dial bore gauge is an instrument that measures the inner diameter of small holes. Bore gages are critical when it comes to measuring parts that have small holes in them. Typically, these versatile instruments are used as part of a quality control process to ensure that bore sizes are standardized.
Q2: Why is a bore dial gauge used?
A2: A Bore Gage is used to measure the inside diameter of a hole or cylinder. This explains why it is referred to by so many different names. You are actually measuring the bore size.
Q3: How does a dial bore gauge work?
A3: A typical bore gauge is comprised of a shaft with a dial indicator at the top and a measuring sled at the base. The measuring sled consists of three guides and an actuating plunger. Dial bore gauges give you quick and accurate readings on the size, less than perfect roundness, or wear.
Tips: How to calibrate a dial bore gauge?
Calibration of the correctness of the centering device. For the inner diameter gauge with positioning bridge, compress the positioning bridge to make it ineffective, put the inner diameter gauge into the special ring gauge, find the minimum size (turning point) in the axial plane of the ring gauge, and find the minimum size (turning point) in the radial direction of the ring gauge Find the largest size (turning point) in the plane, and determine the "reading" of the indicator when the two turning points are together. Then loosen and position the guard bridge, and find the minimum size reading in the axial plane of the ring gauge at the same position where the ring gauge is placed. The difference between the two readings is used as the calibration result.
The steel ball type inner diameter meter is to first put the steel ball probe of the inner diameter meter to be calibrated into the inner dimension composed of the gauge block with the same size as the special ring gauge, and in the two directions perpendicular to each other, it is parallel to and perpendicular to the blocks on both sides. Find the minimum dimension (turning point) within the plane of the working surface, then "reading". When the indications in the two directions are consistent, put it into the special ring gauge, find the minimum reading in the axial plane of the ring gauge, and the difference between the two readings after correction is the calibration result.
Thank you for buying industrial test and measurement equipment on SISCO.com, all products sold by SISCO and the partner cover a 12 months warranty, effective from the date of receiving the products.
What is covered?
SISCO is responsible for providing free spare parts, and free technical support to assist the customer to repair the defective products until the problem is solved.
What is not covered?
- Product purchased from anyone other than a SISCO store or a SISCO authorized reseller.
- Expendable parts.
- Routine cleaning or normal cosmetic and mechanical wear.
- Damage from misuse, abuse or neglect.
- Damage from use of parts other than SISCO approved.
- Damage from use outside the product’s usage or storage parameters.
- Damage from use of parts not sold by SISCO.
- Damage from modification or incorporation into other products.
- Damage from repair or replacement of warranted parts by a service provider other than a SISCO authorized service provider.
- Damage caused by the application environment not meeting the product usage requirements and the failure to perform preventive maintenance.

