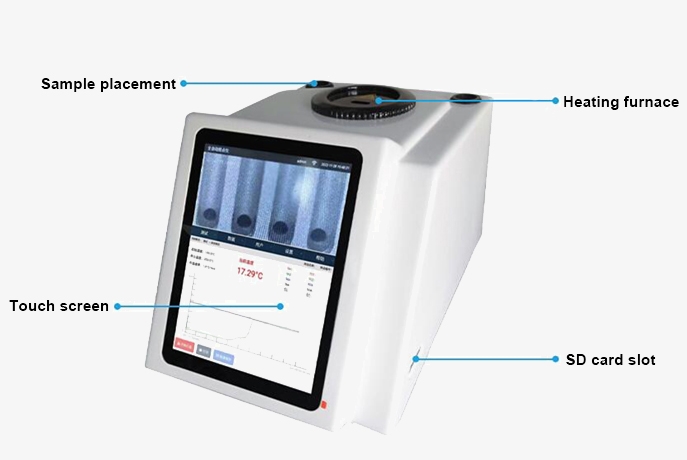
SISCO electric melting point determination machine offers semi-automatic/manual detection modes, using PID precise temperature control. With a fully enclosed furnace design, it can measure four samples simultaneously and features photo/video recording and audit tracking functions, meeting your melting point measurement needs.
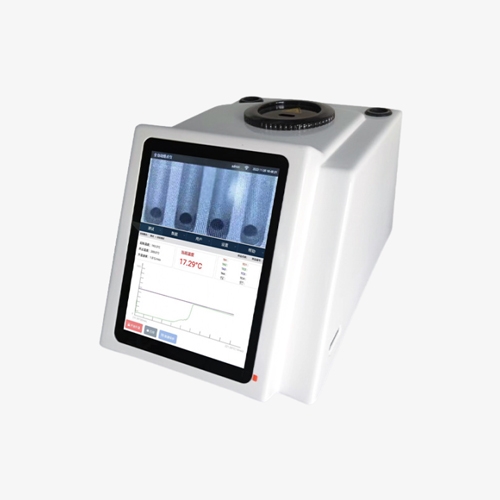
Automation Electric Melting Point Apparatus with Efficiency Improvement
- Fully automatic recording of melting range, initial melting, and final melting.
- Automatic measurement: Video, graphs, and data are automatically recorded and saved together, eliminating tedious operational steps and overcoming the limitation of traditional detection methods in testing dark samples.
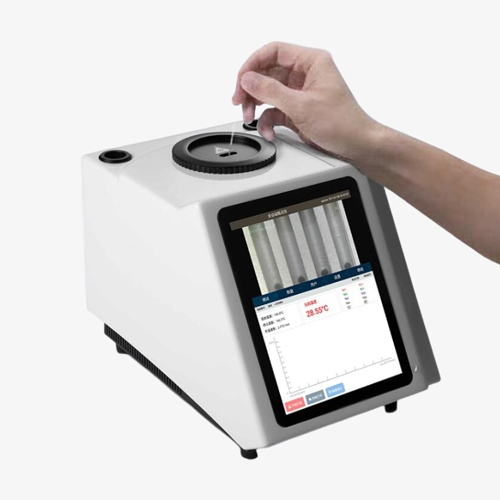
User Management and Operational Convenience
- Multi-user and multi-permission management: The built-in user management function allows the addition and deletion of user accounts freely, with the ability to assign different operational permissions to each account.
- Android system with touch screen: The TFT high-definition color LCD touch screen is equipped with the Android operating system. The interface is clear and easy to understand, the capacitive touch screen responds quickly, and has a longer working life.
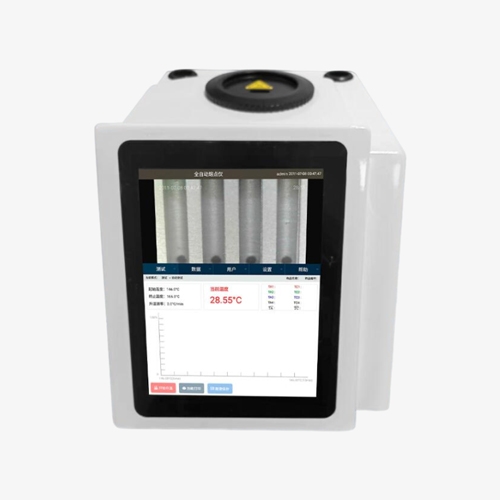
Expansion and Connectivity
- Rich expansion capabilities: The rear interface of the instrument connects to USB printers, thermal printers, and USB drives, enabling one-click operations for printing and exporting.
- Simultaneous measurement of four samples: Up to four samples can be placed during one heating process, increasing work efficiency by four times compared to traditional measurement methods. Each set of data is recorded separately, allowing traceability of historical data.
Applications
SISCO melting point machine uses capillaries, as specified by pharmacopeia, as sample tubes and liquid heat transfer methods. It is widely applicable in industries such as pharmaceuticals, chemical reagents, fragrances, and dyes, for both production and research purposes. This instrument is ideal for measuring the melting point of organic crystalline substances, ensuring high accuracy and reliability in various scientific and industrial applications.

Chemical Reagents

Fragrances

Dyes
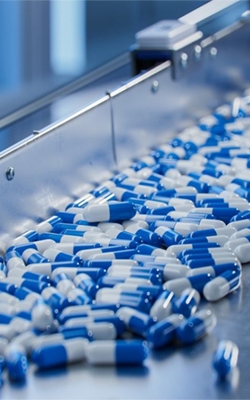
Pharmaceuticals
| Model | SISCO-MPA-RD1 | SISCO-MPA-RD2 | SISCO-MPA-RD3 | SISCO-MPA-RD4 |
| Display Mode | TFT high definition true color screen | |||
| Temperature Range | Room temperature - 350°C | Room temperature - 400℃ | Room temperature - 360℃ | Room temperature - 420°C |
| Detection Method | Semi-automatic/manual | Semi-automatic/manual | Fully automatic (compatible with manual) | Fully automatic (compatible with manual) |
| Processing Power | 4 pieces/batch (four samples can be made at the same time) | |||
| Judgment | Video visual | |||
| Temperature Resolution | 0.1°C | 0.01°C | ||
| Heating Rate | 0.1°C-20°C (200 levels infinitely adjustable) | |||
| Temperature Control Method | PID precise temperature control furnace fully enclosed design | |||
| Accuracy | ±0.3°C(<200°C); ±0.5°C(>200°C) | ±0.2°C(<200°C); ±0.4°C(>200°C) | ||
| Repeatability | Melting point repeatability ±0.1°C at 0.1°C/Min | |||
| Explore Mode | √ | |||
| Video Features | Photo and video | |||
| Video Recording | None | None | Standard | Standard |
| Magnification | 10 | |||
| Number of User Management | More than 30 | More than 30 | More than 300 | More than 500 |
| Hierarchical Management | None | None | Three-level management | Three-level management |
| Audit Trail | √ | |||
| Data Retention | 200 | 200 | 300 | 800 |
| Experimental Protocol | None | None | 100 sets | 300 sets |
| Printer | Optional laser printer or thermal/dot matrix (compatible) | Universal | ||
| Storage Space | 32G hard disk, ≥2G memory | 32G (high speed) | 128G (high speed) | |
| Data Interface | USB, RS232, Wi-Fi, RJ45 | |||
| Capillary Size | Outer diameter: Φ1.4mm, inner diameter: Φ1.0m | |||
| Power Supply | 220V 50HZ, 120W | |||
| Weight | 5kg | |||
Details
Q1: What materials can be tested with a laboratory micro melting point apparatus?
A1: A laboratory micro melting point apparatus is commonly used to test the melting points of small quantities of various materials, including organic compounds, pharmaceutical substances, polymers, and chemical reagents. This device is particularly valuable in testing the purity and identification of solid compounds, as the melting point can indicate whether a sample contains impurities or matches a known substance. It is frequently employed in research labs, pharmaceutical development, and quality control processes to analyze powdered samples, crystals, and other small solid specimens with high precision.
Q2: How does impurity affect the melting point?
A2: Impurities in a substance typically lower its melting point and broaden the melting point range. This happens because impurities disrupt the orderly crystal lattice of a pure substance, weakening the bonds between molecules and causing the substance to melt at a lower temperature. As a result, the transition from solid to liquid occurs over a wider temperature range, rather than at a sharp, specific point. In laboratory analysis, this effect is used to assess the purity of a substance: the purer the substance, the sharper and higher its melting point will be.
Q3: What are the typical sources of error in melting point determination?
A3: Typical sources of error in melting point determination include improper calibration of the melting point apparatus, inaccurate sample preparation, and heating the sample too quickly. A poorly calibrated thermometer can result in incorrect temperature readings, while impurities or uneven packing in the sample can cause inaccurate melting point results. Additionally, if the heating rate is too rapid, the sample may not uniformly reach the melting point, leading to a falsely elevated or broad melting point range. Environmental factors, such as air drafts or inconsistent heating, can also contribute to errors in the measurement.
Tips: How does a micro melting point instrument work?
A micro melting point instrument with eyepieces and objectives functions by combining precision heating with microscopic observation to determine the melting point of small samples. The sample is placed in a thin capillary tube and heated gradually on a specialized heating block. The eyepiece and objective lenses allow the user to closely observe the sample as it undergoes the phase change from solid to liquid. As the sample is heated, the user can clearly see the exact point at which melting begins and completes, while the built-in thermometer or digital display provides real-time temperature readings. This enhanced visual capability improves accuracy, especially for small or fine samples, enabling precise identification of the melting point.
Thank you for buying industrial test and measurement equipment on SISCO.com, all products sold by SISCO and the partner cover a 12 months warranty, effective from the date of receiving the products.
What is covered?
SISCO is responsible for providing free spare parts, and free technical support to assist the customer to repair the defective products until the problem is solved.
What is not covered?
- Product purchased from anyone other than a SISCO store or a SISCO authorized reseller.
- Expendable parts.
- Routine cleaning or normal cosmetic and mechanical wear.
- Damage from misuse, abuse or neglect.
- Damage from use of parts other than SISCO approved.
- Damage from use outside the product’s usage or storage parameters.
- Damage from use of parts not sold by SISCO.
- Damage from modification or incorporation into other products.
- Damage from repair or replacement of warranted parts by a service provider other than a SISCO authorized service provider.
- Damage caused by the application environment not meeting the product usage requirements and the failure to perform preventive maintenance.

