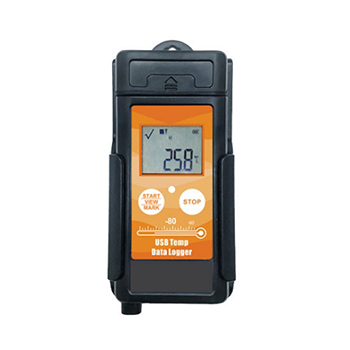
Temperature and humidity data loggers are widely used in various industries across the country, such as agricultural scientific research, food safety, pharmaceutical storage, chemical industry, environmental protection, and other industries. The temperature and humidity recorder is mainly used for monitoring and recording the temperature and humidity of food, medicine, and fresh goods during storage and transportation. Below we will introduce the function of the temperature recorder, the operation steps, and how to calibrate it.
The role of the temperature recorder
Monitor temperature changes
The temperature data logger can record the temperature change in a certain area within a certain period of time, and help people better understand the temperature change law, so as to take corresponding measures to adjust. For example, in the catering industry, the use of temperature data loggers can help monitor temperature changes during food production to ensure food quality and safety.
Assist in data analysis
The temperature data logger can export data in a variety of ways and can be processed according to people's needs, such as statistical analysis and making temperature change trend graphs. At the same time, the temperature data logger can also save the data in the device memory, which is convenient for later review, query, comparison, and data backup.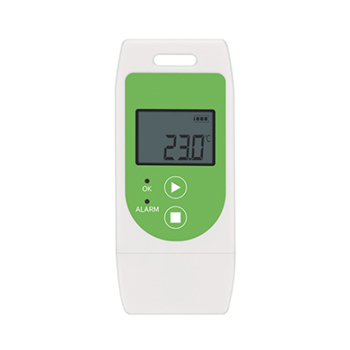
Alarm reminder
When using a temperature data logger, we can pre-set the upper and lower limits of the temperature alarm. When the temperature exceeds the limit, the recorder will sound an alarm in time to remind us to take corresponding measures to prevent accidents.
Operation steps of temperature recorder
Power on and setup
First, you need to put the battery into the temperature recorder and press the power switch button to start the device. Then, press the menu key to enter the menu page, and select the corresponding function to set, such as measurement method, time interval, storage capacity, etc.
Place the temperature data logger
Place the temperature data logger in the area that needs to be monitored, such as: in the laboratory box, drug warehouse, transport box, etc.
Note: The location should be as close to the monitoring object as possible to avoid blocking objects from blocking the temperature recorder.
Data export
When the required monitoring time arrives, we need to export the data from the temperature recorder for later processing. There are many ways to export the data of the temperature data logger, such as reading the information in the memory card, connecting to the computer through USB, and exporting.
How to Calibrate a Temperature Logger
- To ensure the accuracy of the wireless temperature data logger, periodic calibration is required.
- The calibration of the temperature recorder needs to be carried out at the standard temperature. A standard temperature generally refers to a temperature for which precision and accuracy are recognized and proven. For example, well-known standard temperatures are the boiling and freezing points of 0°C and 100°C.
- Step 1: Check whether the temperature sensor of the temperature data logger is within the normal range. If there is an abnormality, the calibration cannot be performed.
- Step 2: Put the temperature data logger under the standard temperature and read out the temperature data in the recorder. Compare the temperature data in the recorder according to the manual or the standard data provided by the manufacturer, calculate the deviation, and make adjustments.
- There are usually two calibration methods: manual calibration and automatic calibration. Manual calibration needs to manually adjust the parameters in the recorder, while automatic calibration will adjust the parameters of the recorder through internal procedures.
- First, connect the temperature data logger to the host computer through the serial port, and set it up through the corresponding software. The interval between recording or refreshing should be as short as possible, for example, 10 seconds/time. Then choose the storage method.
- Generally speaking, there are three kinds of data: first in first out, record all stations, and full coverage. Select FIFO, or set other parameters according to your own needs and reset the recorder.
- Place the sensors of the temperature and humidity recorder and precision dew point meter in a high-precision temperature and humidity calibration box or humidity generator, and the sensor of the dew point meter should be as close as possible to the temperature and humidity sensor of the recorder.
- When the temperature is 20°C, calibrate the performance of the humidity measurement part of the temperature and humidity recorder. The calibration humidity point can be selected as 20%RH, 40%RH, 60%RH, 80%RH or 30%RH, 50%RH, 70%RH, 90%RH.
- Control the humidity value of the temperature and humidity calibration box or humidity generator in the order of "humidity rise" or "humidity fall". When the humidity of the calibration box or generator reaches the calibration humidity and is stable, read the humidity measurement value of the precision dew point meter and the humidity display value of the recorder respectively.
- When the humidity value of the humidity calibration box or generator is 40% relative humidity, calibrate the performance of the temperature measurement part of the temperature and humidity recorder. The calibration humidity point can be selected as 10°C, 20°C, 30°C, or 40°C. Control the temperature value of the temperature and humidity calibration box or generator in the order of "heating" or "cooling".
- After the calibration is completed, the temperature recorder needs to be restored to the normal use state, and the temperature recorder is turned on again and placed in the monitoring area.